Note: This method only works on the Chromebook and not on the Google Chrome browser. For recording Chrome on PC or Mac, check out our list of best screen recording extensions for Google Chrome.
Enable Screen Recording on a Chromebook
The native screen recording feature is currently available on the beta channel of Chrome OS (88.0.4324.22). If you are on the stable build then you can switch to the beta channel by going to Settings -> About Chrome OS -> Additional Details -> Change Channel -> Beta. Now, re-open the “About Chrome OS” page again and check for updates. Don’t worry, this process won’t delete any of your files or programs. With that out of the way, let’s now go through the steps.
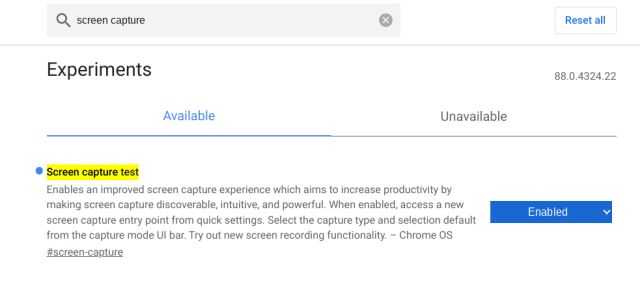
Open chrome://flags on the Chrome browser and search for “screen capture test“. You can also open chrome://flags/#screen-capture directly to access the screen recorder flag. Now, select “Enabled” from the drop-down menu.
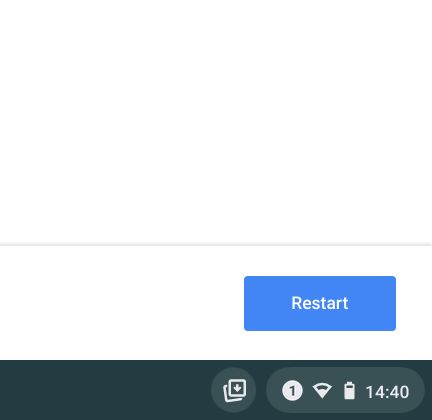
Next, click on “Restart” at the bottom-right corner.
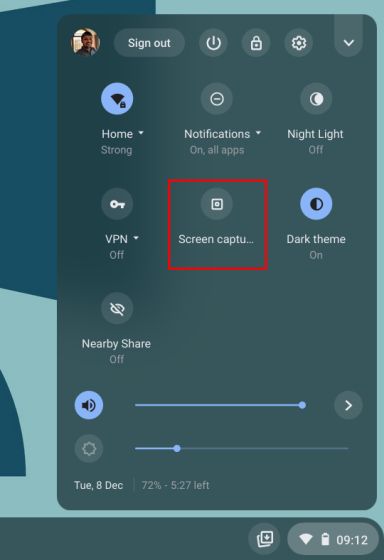
Finally, click on the Quick Settings menu and here you will find a new “Screen capture” tile. You have successfully enabled screen recording on your Chromebook.
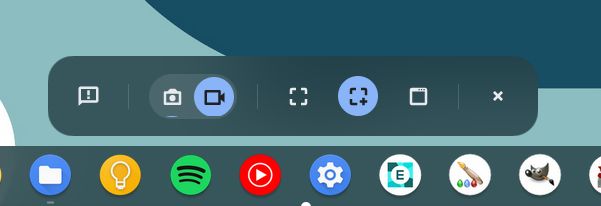
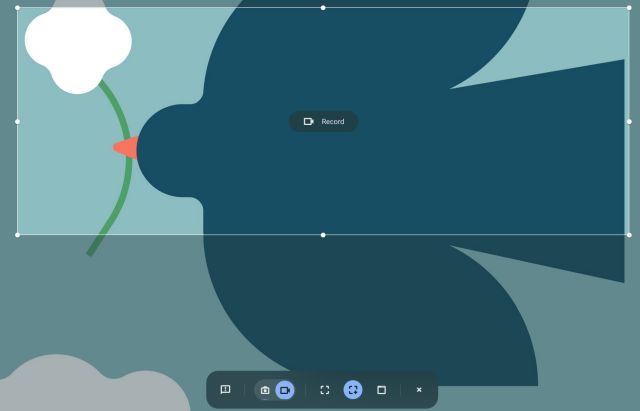
To use it, click on the “Screen capture” tile and it will open a bottom-bar menu. Click on the video icon to switch to screen recording. On the right side, choose how you want to record: full-screen, partial, or an active window.
Finally, hit the “Record” button and your Chromebook will start recording the screen. In my usage, I didn’t find any stutter while recording the screen in any of the modes. And the quality was also pretty good.
To stop the recording, click on the stop icon at the taskbar. The screen recording will be stored in WEBM format and is well-optimized. The only missing feature I found was the lack of microphone support while recording the screen. It could be a great addition for people who want to create small tutorials with voiceover in the background.
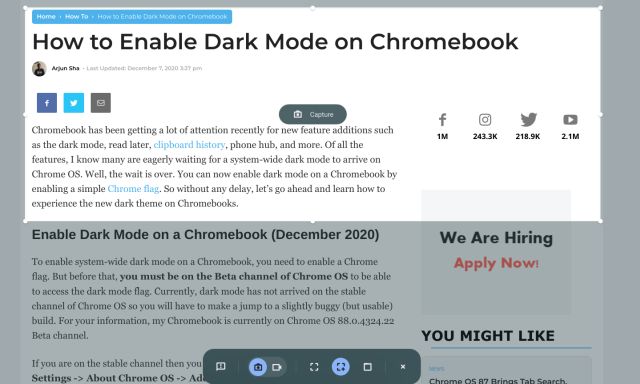
Along with screen recording, the new tool also brings a new and intuitive way to take screenshots on a Chromebook. You can press “Ctrl + Shift + Overview button (above 6)” to bring up the new screen capture mode. What I like about this new tool is that it remembers the position of the last screenshot in partial mode, making the workflow much faster.
List of Popular Chromebooks
Our tutorial will work with all of the following Chromebooks. It is not an exhaustive list and is only here to serve as an example.
Record Screen on Chromebook with the New Capture Mode
So that is how you can enable screen recording on a Chromebook and use it to your advantage. Sure, there are some missing features like screenshot annotation and microphone support, but it’s still better than nothing. Anyway, that is all from us. If you are looking for third-party apps to record screen on a Chromebook then go through our list. And if you are facing any issue then comment down below and let us know.